目前 5.0 之后项目预置方式通用步骤为:
建立 apk 文件夹;
置目标 apk 到该文件夹下;
解压缩 apk 查看是否包含 lib/文件夹(apk 项目是否包含 lib 库文件);
在该文件夹下编写 Android.mk 脚本 ;
理论上 apk 文件夹可以建立在项目内任意目录,编译系统会自动搜索并根据其内 Android.mk (编译脚本) 来进行编译。
编译系统采用的是递归搜索,在搜索到父文件目录的 Android.mk 脚本后递归便被终止。因此一般可以将需要预置的 apk 文件夹放到一个总文件夹内,并在该文件夹根目录另外写一个 Android.mk (管理脚本) ,以便对所有预置 apk 进行管理。对于 管理脚本 的编写将在文末解释。预置目录如下例:
Apps/
-/Android.mk 管理脚本
-/Test1
—-/Android.mk 编译脚本
—-/Test1.apk
—-/lib/_
-/Test2
—-/Android.mk 编译脚本
—-/Test2.apk
—-/lib/_
…
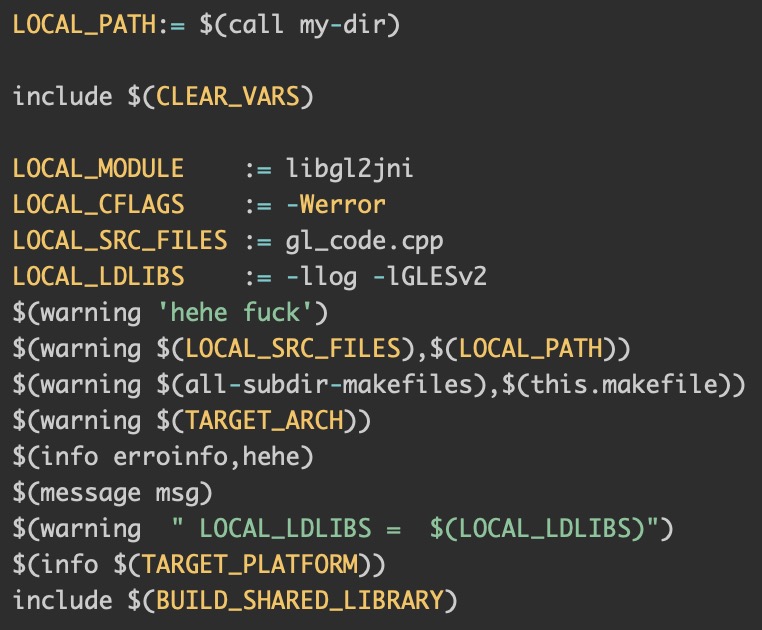
编译脚本 如下例:
LOCALPATH := $(call my-dir)
include $(CLEAR_VARS)
LOCAL_MODULE := Test
LOCAL_MODULE_CLASS := APPS
LOCAL_MODULE_TAGS := optional
LOCAL_BUILT_MODULE_STEM := package.apk
LOCAL_MODULE_SUFFIX := $(COMMON_ANDROID_PACKAGE_SUFFIX)
LOCAL_CERTIFICATE := PRESIGNED
LOCAL_SRC_FILES := Test*.apk
include $(BUILD_PREBUILT)1234567891011
其中,LOCALMODULE := Test 表示了一个预置的 apk 在编译中的唯一标识,同时编译后该 apk 会以此命名;LOCAL_SRC_FILES := Test_.apk 表示了当前要预置的 apk 的文件名,”Test__.apk”匹配任意以”Test_”开头的 apk 文件。
对于 apk 预置路径,在 Android.mk 中可以通过以下方式指名:
a) 默认预置 apk 到 system/app/目录(普通系统 apk,不可卸载),如前文 Android.mk 脚本编写之后即可;
b) 预置 apk 到 system/priv-app/目录(系统核心 apk,不可卸载),在前文 Android.mk 脚本中添加并配置变量:
LOCAL_PRIVILEGED_MODULE := true1
c) 预置 apk 到 data/app/目录并且卸载后不需要再会恢复,在前文 Android.mk 脚本中配置变量:
LOCAL_MODULE_PATH := $(TARGET_OUT_DATA_APPS)1
d) 预置 apk 到 data/app/目录并且卸载后恢复出厂可以恢复,在前文 Android.mk 简本中配置变量:
LOCAL_MODULE_PATH := $(TARGET_OUT)/vendor/operator/app1
对于包含 lib 库文件的 apk,还需要根据预置目标路径,在 mk 脚本中作不同的处理:
情况一:对于预置到 data/app/目录下的 apk,包括可恢复和不可恢复(即上一段 c) 和 d)), 一般 lib 库文件可以不用手动添加,apk 在首次运行时,会自动将自身的 lib 库抽取安装到自身的根目录;
情况二:对于预置到 system/app/ 和 system/priv-app 目录下的 apk(即上一段 a) 和 b)),因为在 android 系统中,system 分区是不允许应用执行写操作的,因此需要在 Android.mk 脚本中进行配置,手动添加 lib 库文件到编译环境,以便 lib 库文件在编译之后拷贝到对应编译后的 apk 目录下,否则 apk 执行时会因找不到 lib 库而报错;
<一>、首先根据 情况二 所述,添加 lib 库文件到编译环境
方法一 不从 apk 中解压 lib 库而直接添加
如下例,在 Android.mk 中添加并配置变量(注意路径对应):
LOCAL_PREBUILT_JNI_LIBS =
@lib/armeabi-v7a/libcryptox.so
@lib/armeabi-v7a/libfb.so 123
注意前面的 @符号,@标识符会将 apk 中的 so 抽离出来,拷贝到对应编译后的 apk 目录;
方法二 手动解压 lib 文件到当前 apk 的编译目录并添加
先解压当前 apk 内的 lib 文件夹到当前 apk 编译目录,同方法一在 Android.mk 中添加并配置变量(注意路径对应),如下例:
LOCAL_PREBUILT_JNI_LIBS =
lib/armeabi-v7a/libcryptox.so
lib/armeabi-v7a/libfb.so 123
若当前 apk 包含的 lib 库文件数量比较多时,上述代码可以通过修改为如下代码进行优化,优化的思路是用递归搜索来替代手工对 lib 库文件进行添加:
###清空临时变量 JNI_LIBS
JNI_LIBS := ###当前目录递归搜索
$(foreach FILE,$(shell find $(LOCAL_PATH)/lib/ -name *.so), $(eval JNI_LIBS += $(FILE)))
###获取搜索文件目录集(相对目录)
LOCAL_PREBUILT_JNI_LIBS := $(subst $(LOCAL_PATH),,$(JNI_LIBS))123456
<二>、然后需要注意当前 Android 环境是否符合 apk 运行条件(64 位和 32 位)并配置 apk 运行环境
之所以要配置 apk 运行环境,是因为包含 lib 库的 apk 在添加 lib 库到编译环境之后,在 Android 环境和 apk 运行条件不符的情况下,需要在编译环境中指定环境。举例说明:
目前一般的 apk 运行环境为 32 位 Android 系统环境,当在 64 位 Android 系统中预置带有 lib 库的 apk 时,手动添加 lib 库文件到编译环境后,默认情况下编译环境会在编译后 apk 目录建立 64 位的环境的 lib 库路径 /lib/arm64,虽然编译过程未报错,但之后在执行该 apk 时,会出现 apk 因找不到 lib 库而报错
因此,需要在 Android.mk 中对当前 apk 编译环境进行配置,配置的方法常见的也有两种:
<1>指定编译目标为 32 位 或 64 位
在 Android 目标中添加并配置变量:
LOCAL_MULTILIB := ###可选值 /32/64/first/both 12
不同的值含义如下:
“both”: build both 32-bit and 64-bit.
“32”: build only 32-bit.> * “64”: build only 64-bit.
“first”: build for only the first arch (32-bit in 32-bit devices and 64-bit in 64-bit devices).
“”: the default; the build system decides what arch to build based on the module class and other LOCAL_ variables, such as LOCAL_MODULE_TARGET_ARCH, LOCAL_32_BIT_ONLY, etc.
此处,default 值会根据当前已有的其他相关值方式来进行编译
<2>指定目标 lib 库的 类型
在 Android.mk 中添加并配置变量:
LOCAL_MODULE_TARGET_ARCH := ###可选值 arm/arm x86/arm6412
此处, LOCAL_MODULE_TARGET_ARCH 的值只能是当前编译环境所支持的类型,如果需要配置当前系统不支持类型,则需要配置如下另一个变量
LOCAL_MODULE_UNSUPPORTED_TARGET_ARCH := ###可选值 arm/arm x86/arm6412
与 LOCAL_MODULE_TARGET_ARCH 相反, LOCAL_MODULE_UNSUPPORTED_TARGET_ARCH 的值只能是当前编译环境所不支持的类型,否则编译将不会生效
如下是一个完整的 Android.mk 脚本示例,其中 apk 运行环境为 32 位,系统为 64 位:
LOCAL_PATH := $(call my-dir)
include $(CLEAR_VARS)
LOCAL_MODULE := UCBrowser
LOCAL_MODULE_CLASS := APPS
LOCAL_MODULE_TAGS := optional
LOCAL_BUILT_MODULE_STEM := package.apk
LOCAL_MODULE_SUFFIX := $(COMMON_ANDROID_PACKAGE_SUFFIX)
LOCAL_CERTIFICATE := PRESIGNED
LOCAL_SRC_FILES := HK_UCBrowser*.apk
LOCAL_PRIVILEGED_MODULE := true
LOCAL_MULTILIB := 32
JNI_LIBS :=
$(foreach FILE,$(shell find $(LOCAL_PATH)/lib/ -name *.so), $(eval JNI_LIBS += $(FILE)))
LOCAL_PREBUILT_JNI_LIBS := $(subst $(LOCAL_PATH),,$(JNI_LIBS))
include $(BUILD_PREBUILT)123456789101112131415
最后编写管理脚本集中管理预置 apk
预置三方 apk 一般根据客户项目的不同而有所差异,因此如前文所述,可以将需要预置的 apk 文件夹放到一个总文件夹内,该文件夹可以采用与客户项目有关的命名用以区分不同客户项目预置,并在该文件夹根目录另外写一个 Android.mk (管理脚本), 这样便可以根据客户项目对预置 apk 进行管理。以下是据此更新后的预置目录,具体可以根据原理自行调整:
Customer1/
-/Android.mk 管理脚本
-/Test1
—-/Android.mk 编译脚本
—-/Test1.apk
—-/lib/_
-/Test2
—-/Android.mk 编译脚本
—-/Test2.apk
—-/lib/_
Customer2/
-/Android.mk 管理脚本
-/Test3
—-/Android.mk 编译脚本
—-/Test1.apk
—-/lib/_
-/Test4
—-/Android.mk 编译脚本
—-/Test2.apk
—-/lib/_
…
对于 管理脚本 的编写,如下例:
LOCAL_PATH := $(call my-dir)
include $(CLEAR_VARS)
###此处也可以在此添加一个宏变量来控制是否执行以下代码
###if($(strip $(XXX_CUSTOMER1_APP)),yes))
SUB_ANDROID_MK := $(shell find $(LOCAL_PATH)/apps/ -name Android.mk)
$(foreach sub_mk,$(SUB_ANDROID_MK), $(eval include $(sub_mk)))
PRODUCT_PACKAGES +=
Test1
Test2
###endif12345678910
其中 $(shell find $(LOCAL_PATH)/apps/ -name Android.mk) 返回一个遍历搜索子目录 Android.mk 的路径集合,此处也可以采用手动添加指定路径的方式来控制具体预置的 apk 是否编译 :
###替换
###SUB_ANDROID_MK := $(shell find $(LOCAL_PATH)/apps/ -name Android.mk)
###$(foreach sub_mk,$(SUB_ANDROID_MK), $(eval include $(sub_mk))) ###为
include Customer1/Test1/Android.mk
include Customer1/Test2/Android.mk123456
同时,PRODUCT_PACKAGES 变量指定将哪些编译完成的 apk 打包到项目最终编译生成的 Android 系统镜像文件中,如上代码中,其值恰恰就是预置 apk 的编译脚本中定义的 LOCAL_MODULE (即编译后该 apk 的名称)的值。
原文:https://blog.csdn.net/a462533587/article/details/46380795